

Hey there! I'm a supplier of hose clamps, and today I'm gonna walk you through the process of replacing a broken hose clamp. Whether you're a DIY enthusiast or just trying to fix a small issue around the house, this guide will help you get the job done right.
Why Replace a Broken Hose Clamp?
First off, you might be wondering why it's so important to replace a broken hose clamp. Well, a faulty hose clamp can lead to all sorts of problems. It can cause leaks, which not only waste water or other fluids but can also damage surrounding equipment. For example, in a car, a leaking hose can lead to overheating or loss of power steering fluid. In a home plumbing system, a leaky hose can cause water damage to floors and walls. So, replacing a broken hose clamp is a simple yet crucial step in maintaining the integrity of your hoses and the systems they're part of.
Tools You'll Need
Before you start replacing the hose clamp, you'll need to gather a few tools. Here's what you'll typically need:
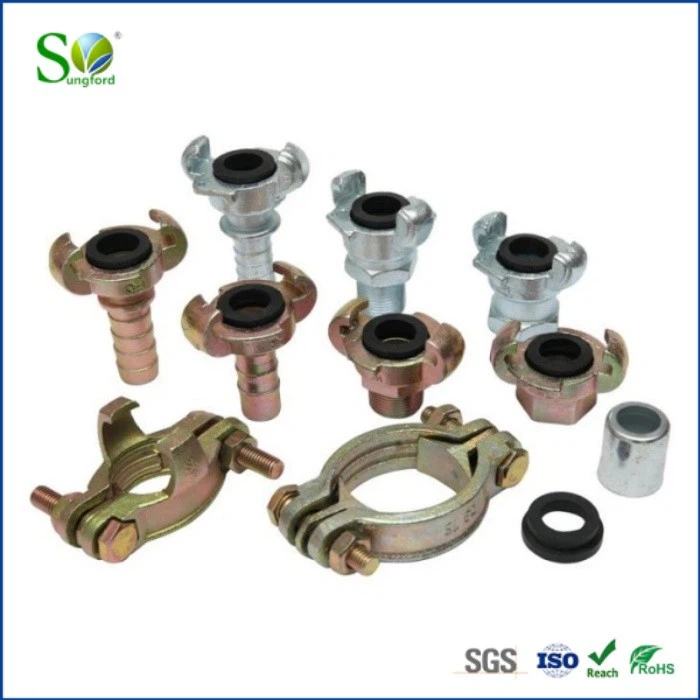

- Screwdriver: Depending on the type of hose clamp, you'll need either a flat - head or a Phillips - head screwdriver. Most common hose clamps use a Phillips - head screw.
- New Hose Clamp: Make sure to choose the right size and type of hose clamp for your application. You can find a wide range of Hose Clampls on our website.
- Pliers: In some cases, you might need pliers to hold the hose in place or to remove stubborn clamps.
Step 1: Identify the Problem
The first step is to locate the broken hose clamp. Look for signs of leakage, such as wet spots around the hose or a decrease in the pressure of the fluid flowing through the hose. Once you've found the broken clamp, take a close look at it to determine the type of clamp and how it's attached.
Step 2: Prepare the Area
Before you start removing the old hose clamp, it's a good idea to prepare the area. If the hose is carrying a fluid, make sure to turn off the source of the fluid to prevent spills. Place a bucket or a towel under the hose to catch any remaining fluid.
Step 3: Remove the Old Hose Clamp
Now it's time to remove the old hose clamp. If it's a screw - type clamp, use your screwdriver to loosen the screw. Turn the screw counter - clockwise until it's loose enough to slide the clamp off the hose. In some cases, the screw might be rusted or stuck. If this happens, you can try using a little bit of penetrating oil to loosen it. If the clamp is a spring - type clamp, use pliers to open the clamp and slide it off the hose.
Step 4: Inspect the Hose
Once you've removed the old hose clamp, take a close look at the hose itself. Check for any signs of damage, such as cracks, cuts, or wear. If the hose is damaged, you might need to replace it as well. If the hose is in good condition, clean it with a cloth to remove any dirt or debris.
Step 5: Choose the Right Replacement Clamp
As I mentioned earlier, it's important to choose the right replacement hose clamp. Consider the size of the hose and the type of application. You can find detailed sizing guides on our Hose Clampls page. Make sure the new clamp is the right size to fit snugly around the hose without being too tight or too loose.
Step 6: Install the New Hose Clamp
Now that you have the new hose clamp, it's time to install it. Slide the new clamp over the hose, making sure it's in the right position. If it's a screw - type clamp, use your screwdriver to tighten the screw. Turn the screw clockwise until the clamp is tight enough to hold the hose securely but not so tight that it damages the hose. If it's a spring - type clamp, use pliers to close the clamp around the hose.
Step 7: Check for Leaks
After installing the new hose clamp, it's important to check for leaks. Turn on the source of the fluid and let it flow through the hose. Look for any signs of leakage around the clamp. If you notice any leaks, try tightening the clamp a little more. If the leak persists, you might need to double - check the size of the clamp or the condition of the hose.
Tips and Tricks
- Size Matters: Always measure the diameter of the hose accurately before choosing a hose clamp. Using the wrong size clamp can lead to leaks or damage to the hose.
- Regular Maintenance: It's a good idea to inspect your hose clamps regularly for signs of wear and tear. This can help you catch problems early and prevent more serious issues down the road.
- Use Quality Clamps: Investing in high - quality hose clamps can save you time and money in the long run. Our Hose Clampls are made from durable materials and are designed to last.
Other Related Parts
Hose clamps are often used in conjunction with other hose - related parts, such as Hose Couplings. These couplings are used to connect two hoses or a hose to a fitting. When replacing a hose clamp, it's also a good idea to check the condition of the couplings to ensure a proper seal.
Contact Us for Your Hose Clamp Needs
If you have any questions about replacing hose clamps or need help choosing the right products for your application, don't hesitate to contact us. We're here to provide you with the best solutions and support. Whether you're a small business or a large industrial operation, we can offer you high - quality hose clamps at competitive prices.
References
- "Hose Fitting Handbook" - A comprehensive guide to hose fittings and their applications.
- "DIY Home Plumbing Repairs" - A practical guide for homeowners on fixing common plumbing issues.