

Installing a hose fitting on a fabric-reinforced hose might seem like a daunting task, but with the right tools and knowledge, it can be a straightforward process. As a trusted hose fittings supplier, I've helped numerous customers through this process, and I'm excited to share my expertise with you.
Understanding Fabric-Reinforced Hoses
Before we dive into the installation process, it's crucial to understand what fabric-reinforced hoses are and why they're used. These hoses are constructed with layers of fabric, typically polyester or nylon, embedded within the rubber or thermoplastic material. This reinforcement provides additional strength and durability, making them suitable for a wide range of applications, including industrial, automotive, and agricultural settings.

The fabric reinforcement helps the hose withstand higher pressures and temperatures compared to non-reinforced hoses. It also prevents the hose from expanding or bursting under pressure, ensuring a safe and reliable connection.
Tools and Materials You'll Need
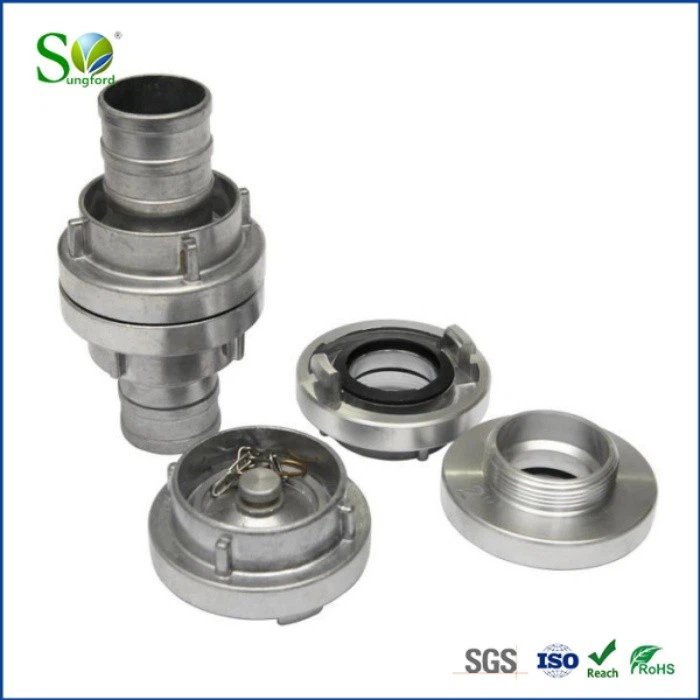
To install a hose fitting on a fabric-reinforced hose, you'll need the following tools and materials: - Hose Fittings: Choose the appropriate fittings for your application, considering factors such as size, material, and pressure rating. As a [your company type] supplier, we offer a wide range of Link text: Hose Couplings to meet your specific needs. - Hose Clamps: These are used to secure the fitting to the hose. We provide high-quality Link text: Hose Clampls that ensure a tight and leak-free connection. - Hose Cutter: A sharp hose cutter will make clean, precise cuts, ensuring a proper fit between the hose and the fitting. - Lubricant: A water-based lubricant can make it easier to slide the fitting onto the hose. - Safety Gloves and Goggles: Protect your hands and eyes during the installation process.
Step-by-Step Installation Guide
Now that you have all the necessary tools and materials, let's walk through the installation process step by step:

Step 1: Measure and Cut the Hose
- Measure the Required Length: Use a tape measure to determine the length of hose you need for your application. Make sure to account for any bends or curves in the hose route.
- Cut the Hose: Using a sharp hose cutter, make a clean, straight cut across the hose. Avoid crushing or damaging the fabric reinforcement during the cutting process.
Step 2: Prepare the Hose and Fitting
- Clean the Hose End: Remove any dirt, debris, or moisture from the end of the hose. This will ensure a proper seal between the hose and the fitting.
- Apply Lubricant: Apply a small amount of water-based lubricant to the inside of the hose and the outside of the fitting. This will make it easier to slide the fitting onto the hose.
Step 3: Insert the Fitting into the Hose
- Align the Fitting: Carefully align the fitting with the end of the hose, making sure it is centered and straight.
- Insert the Fitting: Slowly push the fitting into the hose, applying even pressure. You may need to twist the fitting slightly to help it slide in.
- Check the Depth: Make sure the fitting is inserted to the correct depth. Most fittings have a depth indicator or a shoulder that will stop the fitting from being inserted too far.
Step 4: Secure the Fitting with a Hose Clamp
- Place the Hose Clamp: Position the hose clamp over the fitting and the hose, just behind the fitting's shoulder.
- Tighten the Clamp: Use a screwdriver or a clamp tightening tool to tighten the clamp. Make sure the clamp is tightened evenly around the hose, but be careful not to overtighten, as this can damage the hose or the fitting.
- Check for Leaks: Once the clamp is tightened, check for any leaks by applying pressure to the hose. If you notice any leaks, loosen the clamp slightly and reposition it before tightening it again.
Step 5: Test the Connection
- Pressurize the System: Slowly increase the pressure in the system to the recommended operating pressure. Monitor the connection for any signs of leaks or movement.
- Inspect the Connection: After the system has been pressurized, visually inspect the connection for any signs of damage or wear. If you notice any issues, shut down the system immediately and make the necessary repairs.
Tips and Tricks for a Successful Installation
- Choose the Right Fittings: Make sure the fittings you choose are compatible with the hose material, size, and pressure rating. As a [your company type] supplier, we can help you select the right fittings for your application.
- Use the Right Tools: Using the right tools for the job will make the installation process easier and more efficient. Invest in high-quality tools that are designed for hose fitting installation.
- Follow the Manufacturer's Instructions: Always follow the manufacturer's instructions when installing hose fittings. This will ensure a safe and reliable connection.
- Inspect the Hose Regularly: Regularly inspect the hose and the fittings for any signs of damage or wear. Replace any damaged or worn parts immediately to prevent leaks or failures.
Conclusion
Installing a hose fitting on a fabric-reinforced hose is a relatively simple process that can be completed with the right tools and knowledge. By following the steps outlined in this guide and using high-quality fittings and clamps from a trusted [your company type] supplier, you can ensure a safe and reliable connection for your application.
If you have any questions or need further assistance with hose fitting installation, please don't hesitate to [contact us for procurement discussion]. We're here to help you find the right solutions for your needs.
References
- Manufacturer's instructions for hose fittings and clamps
- Industry standards and best practices for hose fitting installation